近来无意间发现了可通过GitHub来免费搭建自己的博客,无需申请域名,无需蛋疼的备案,无需购买主机,简直不能太兴奋了,于是这俩天研究了下,现在把搭建过程记录下来。

1 安装Hexo

1.1 安装前提

Hexo运行前需先安装Node.jsGit
Node.js安装好后,执行node -v验证成功与否

1
2
shiwenhuandeMacBook-Pro:~ shiwenhuan$ node -v
v7.7.4

Git安装好后,执行git --version验证成功与否

1
2
shiwenhuandeMacBook-Pro:~ shiwenhuan$ git --version
git version 2.10.1

1.2 使用npm安装Hexo

Node.js的安装已经包含了npm的安装,现在执行npm install -g hexo-cli安装Hexo,完成后再执行hexo -v验证成功与否

1
2
3
4
5
6
7
8
9
10
11
12
13
14
15
shiwenhuandeMacBook-Pro:node-js-example shiwenhuan$ hexo -v
hexo-cli: 1.0.2
os: Darwin 16.5.0 darwin x64
http_parser: 2.7.0
node: 7.7.4
v8: 5.5.372.42
uv: 1.11.0
zlib: 1.2.11
ares: 1.10.1-DEV
modules: 51
openssl: 1.0.2k
icu: 58.2
unicode: 9.0
cldr: 30.0.3
tz: 2016j

2 使用Hexo建站

2.1 初始化

1
2
3
hexo init example
cd example
npm install

其中example为网站代码所在的目录

1
2
3
4
5
6
7
8
9
10
11
12
13
14
shiwenhuandeMacBook-Pro:wh-shi.github.io shiwenhuan$ pwd
/Users/shiwenhuan/GitHub/wh-shi.github.io
shiwenhuandeMacBook-Pro:wh-shi.github.io shiwenhuan$ ll
total 24
drwxr-xr-x 9 shiwenhuan staff 306 4 3 23:41 ./
drwxr-xr-x 7 shiwenhuan staff 238 4 3 23:41 ../
-rw-r--r-- 1 shiwenhuan staff 65 4 3 23:41 .gitignore
-rw-r--r-- 1 shiwenhuan staff 1483 4 3 23:41 _config.yml
drwxr-xr-x 286 shiwenhuan staff 9724 4 3 23:42 node_modules/
-rw-r--r-- 1 shiwenhuan staff 443 4 3 23:41 package.json
drwxr-xr-x 5 shiwenhuan staff 170 4 3 23:41 scaffolds/
drwxr-xr-x 3 shiwenhuan staff 102 4 3 23:41 source/
drwxr-xr-x 3 shiwenhuan staff 102 4 3 23:41 themes/
shiwenhuandeMacBook-Pro:wh-shi.github.io shiwenhuan$

2.2 代码编译与运行

1
2
hexo generate
hexo server

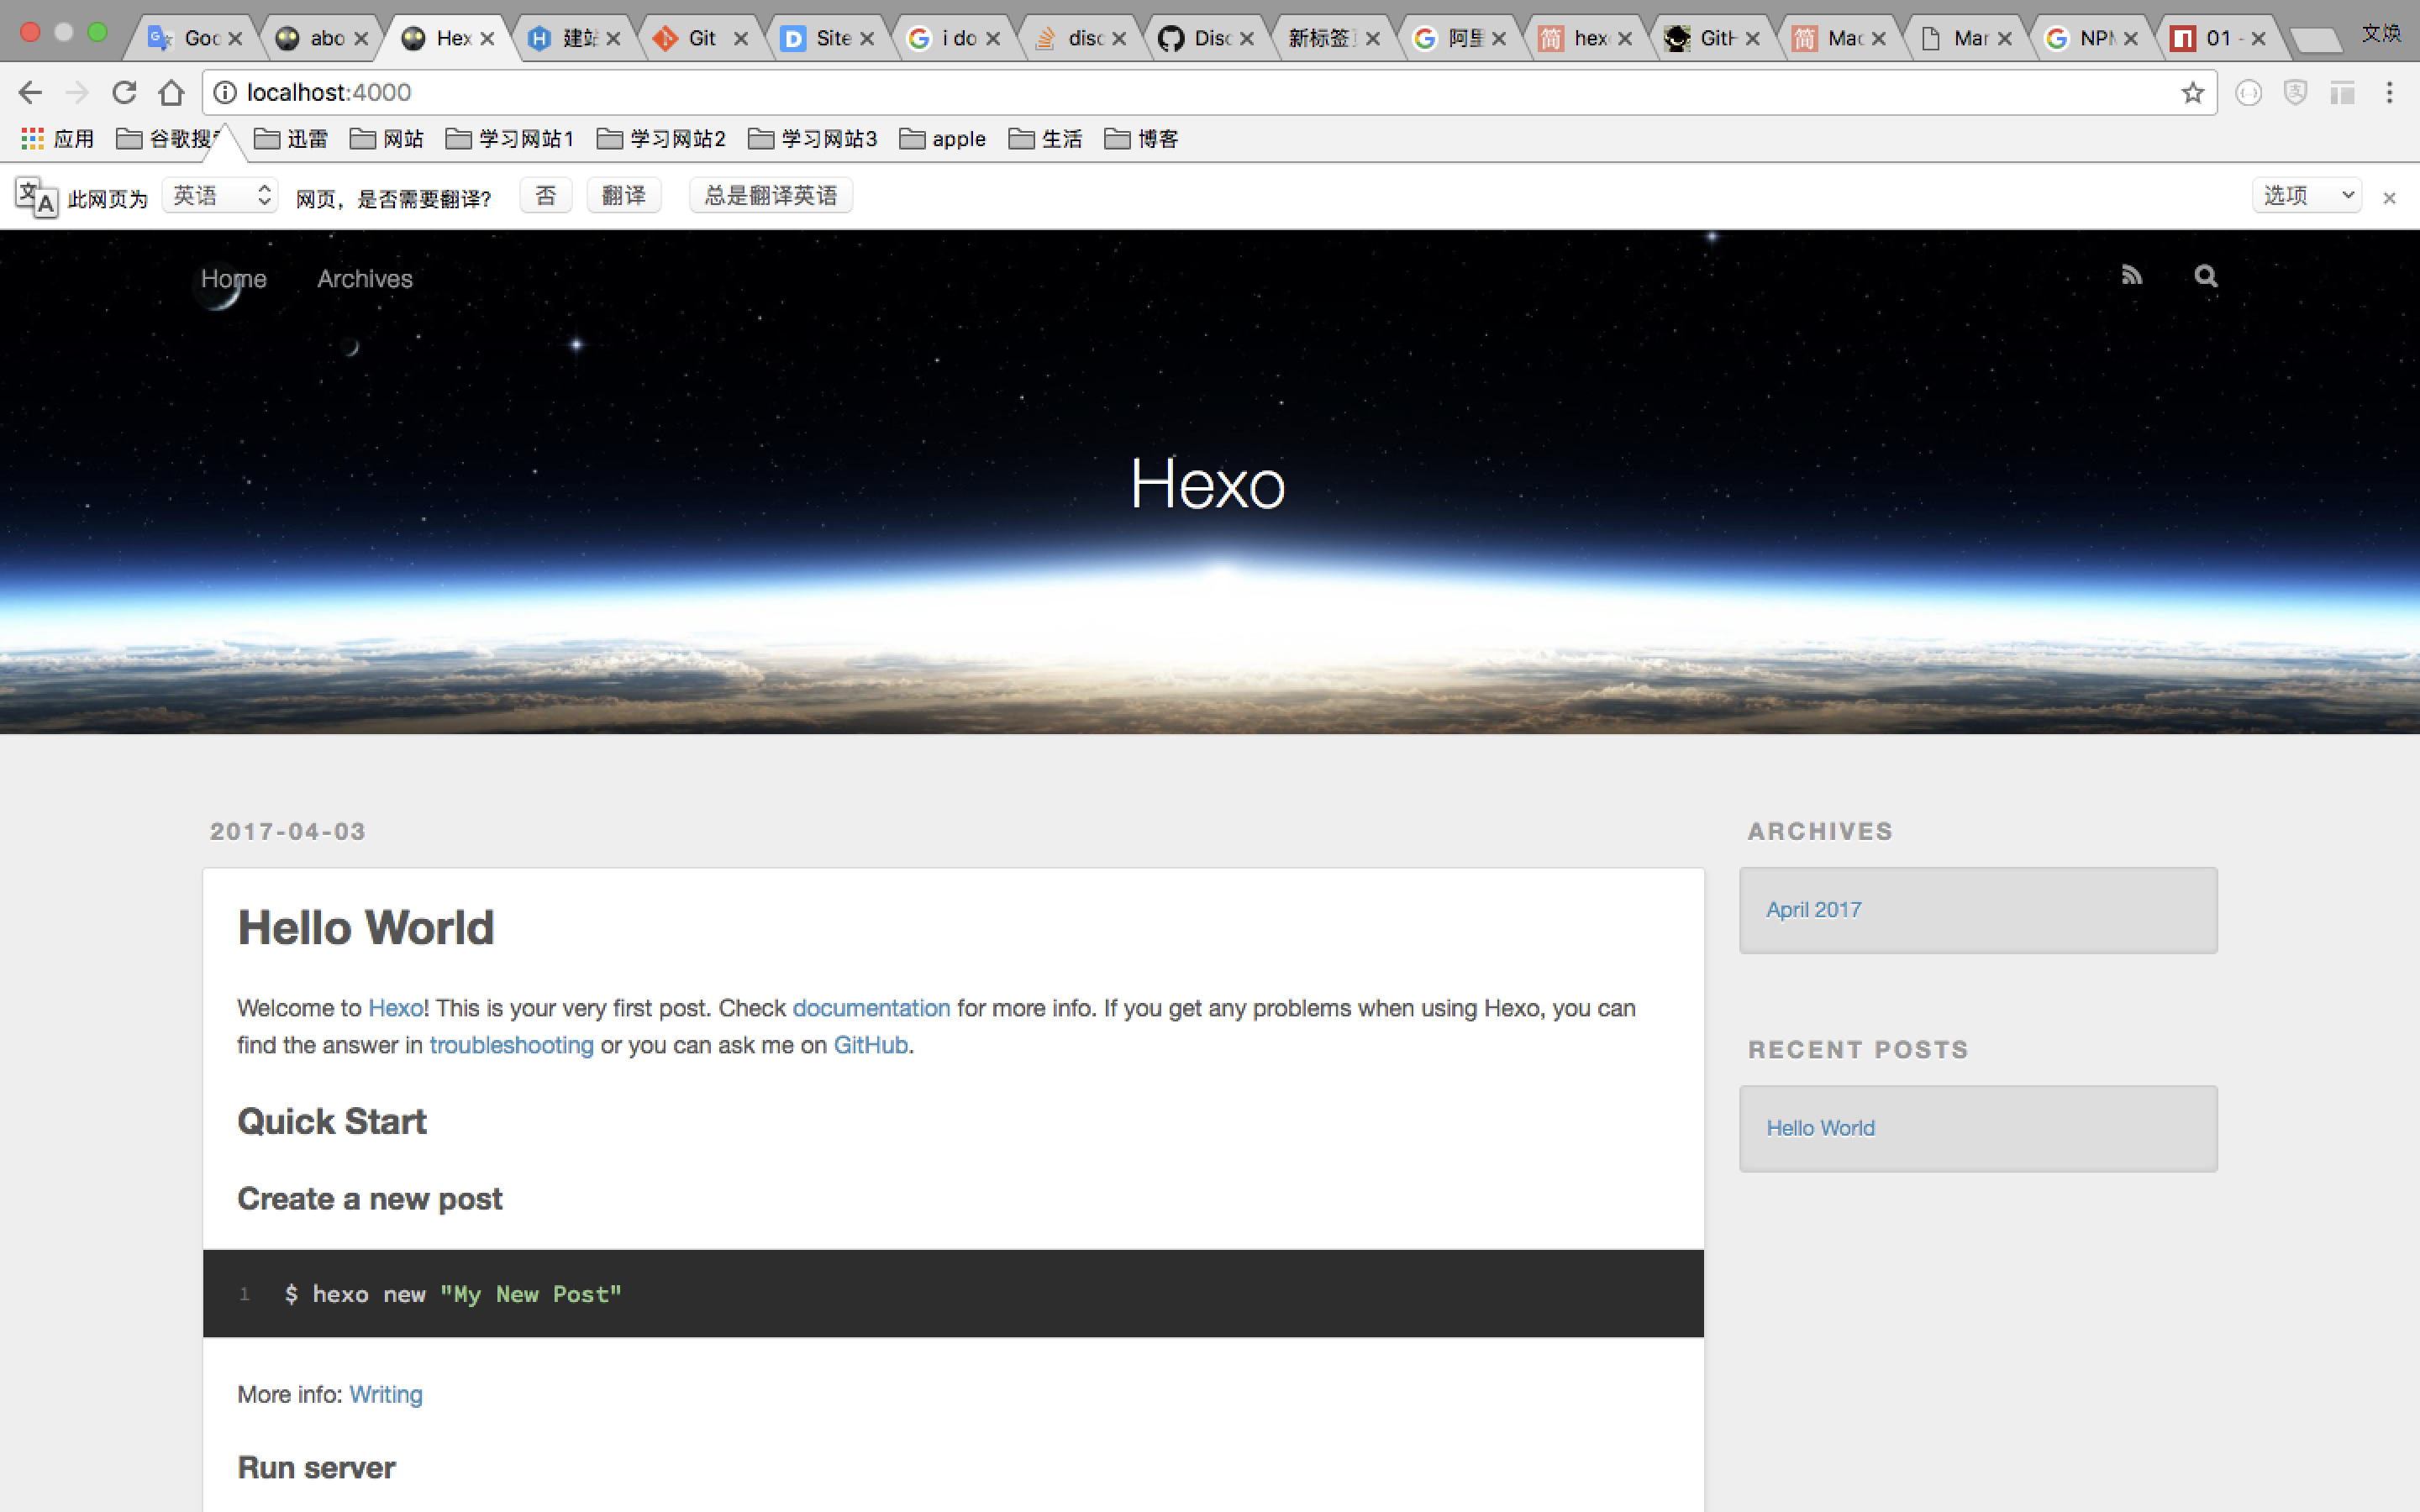
现在访问http://localhost:4000
example localhost page

2.3 主题选择

Hexo默认的主题landscape很丑,Hexo官网有很多主题可供选择,点击主题名称即可看到相应的github项目以及如何在自己的网站中使用这些主题,本网站使用的是BlueLake

2.4 评论系统

评论系统基本采用多说Disqus,但多说官网显示:

因公司业务调整,非常遗憾的向大家宣布多说项目即将关闭。 我们将于2017年6月1日正式关停服务,在此之前您可以通过后台的数据导出功能导出自己站点的评论数据。 对此给您造成的不便,我们深表歉意,感谢您的一路相伴。

所以果断选择Disqus,接入步骤如下:

  1. Disqus官网注册账号

  2. 登录成功后点击GET STARTED

    example disqus start page
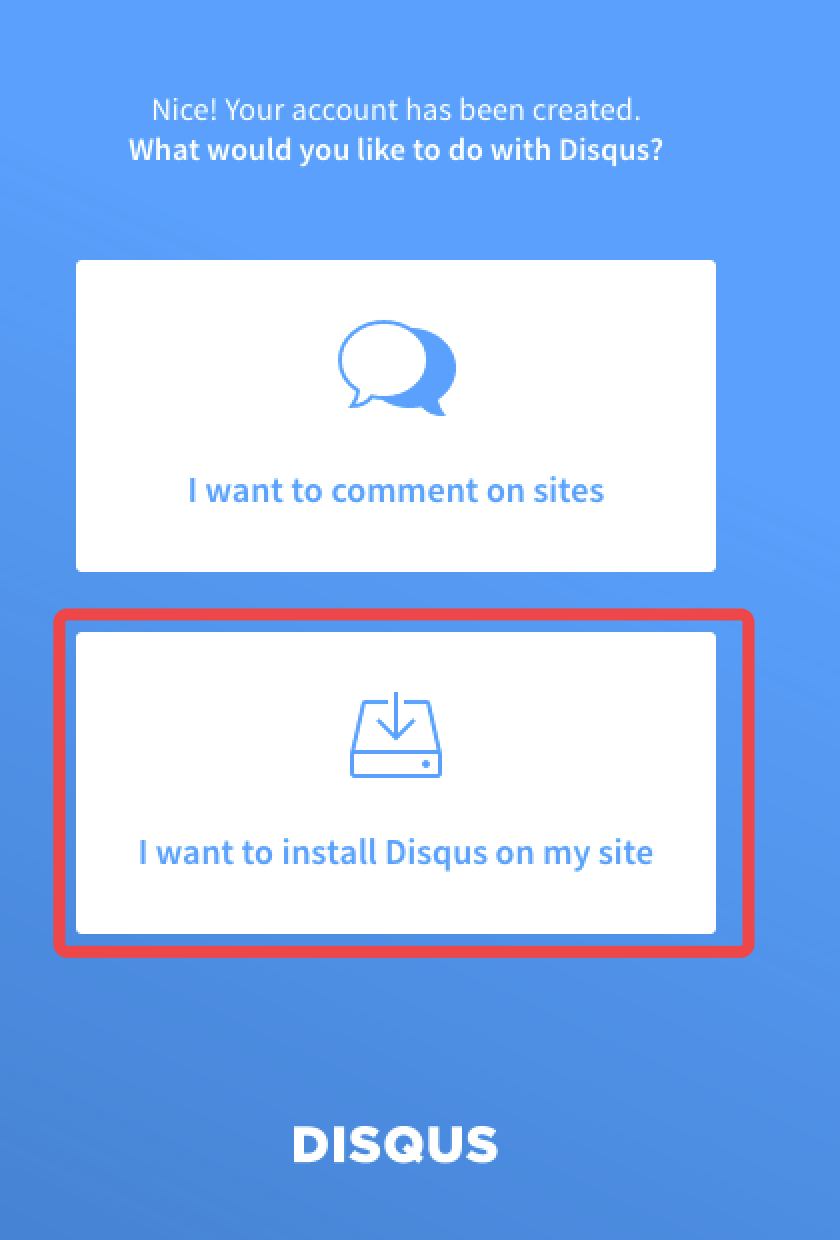
  3. 选择i want to install Disqus on my site

    example disqus install page
  4. Create a new site
    填写信息,其中Website Name一栏下面的Customize Your URL可不填,系统会自动生成一个唯一的Shortname
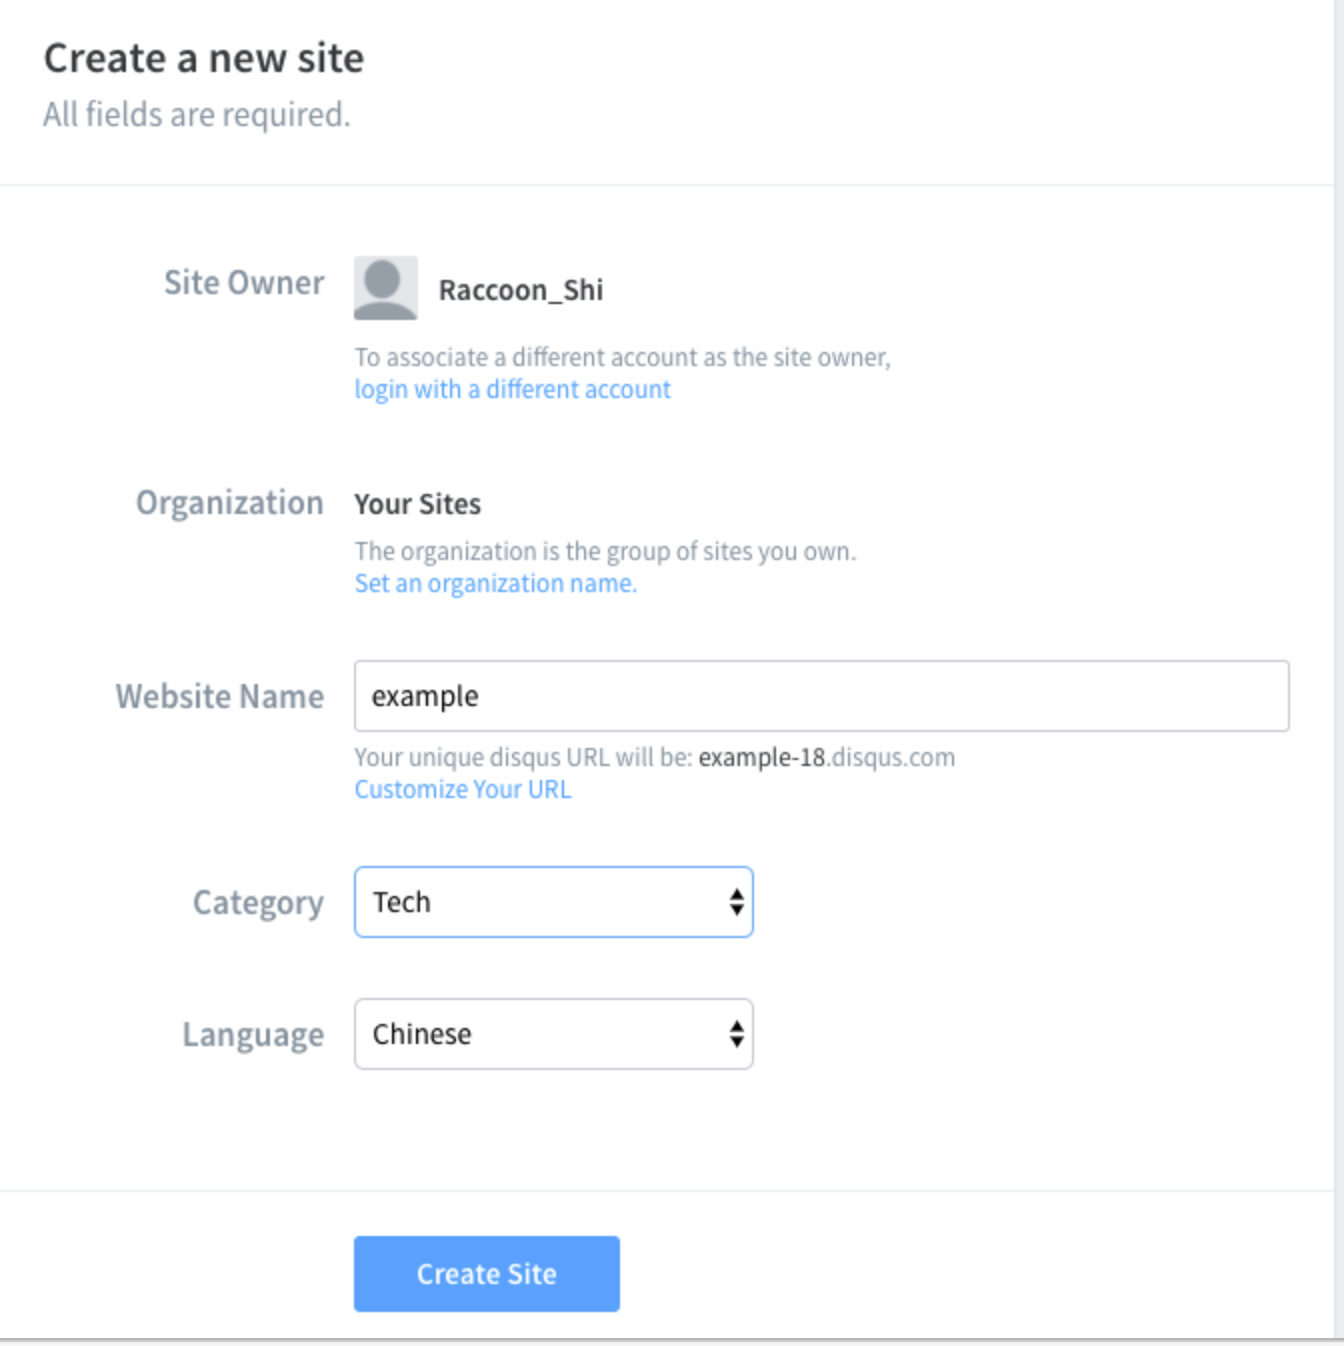
    example disqus start page
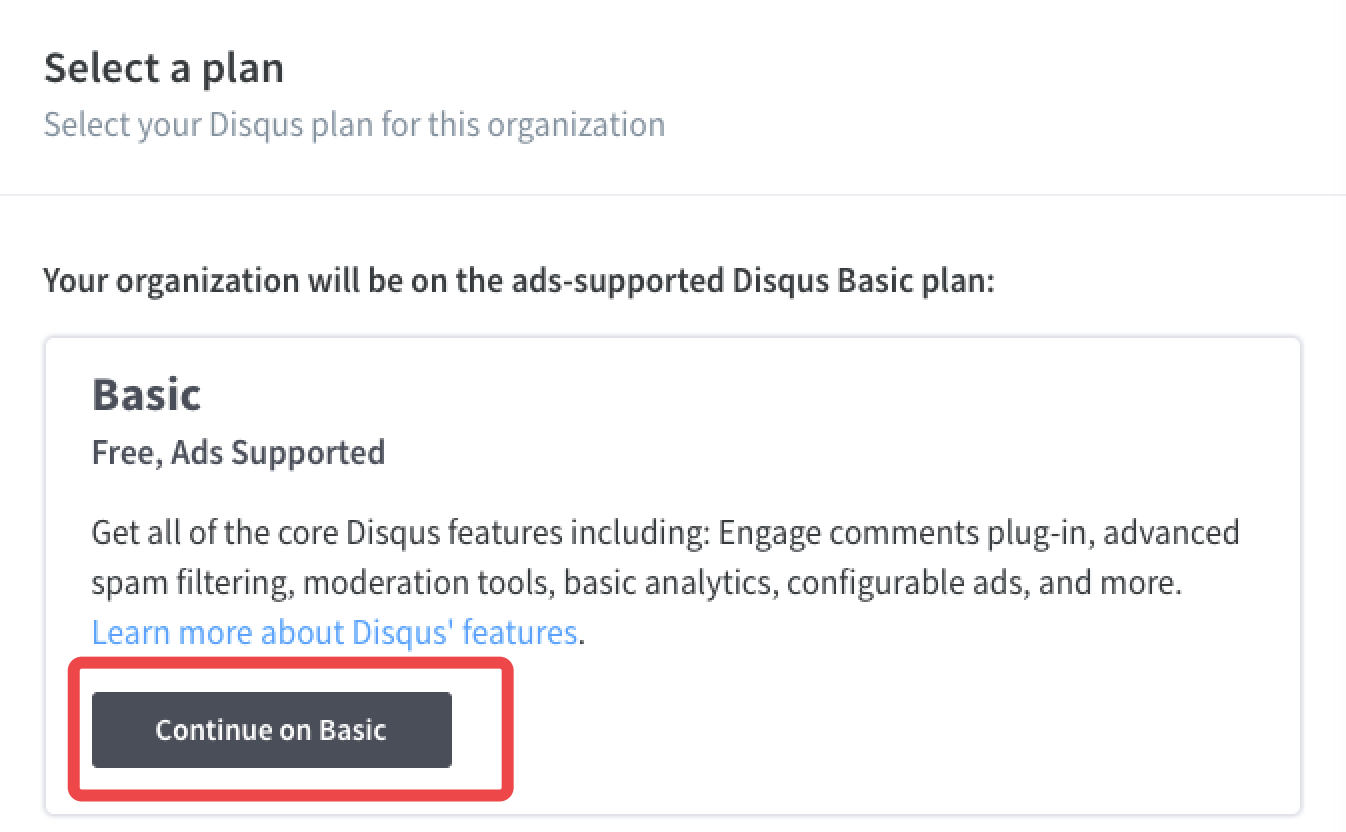
  5. Select a plan

    example disqus select a plan page

    点击Continue on basic

  6. What platform is your site on?
    选择Jekyll

  7. Jekyll install instructions
    直接点击最下面的Configure即可,因为上面所说的配置在前面2.3的Hexo Theme中已设置

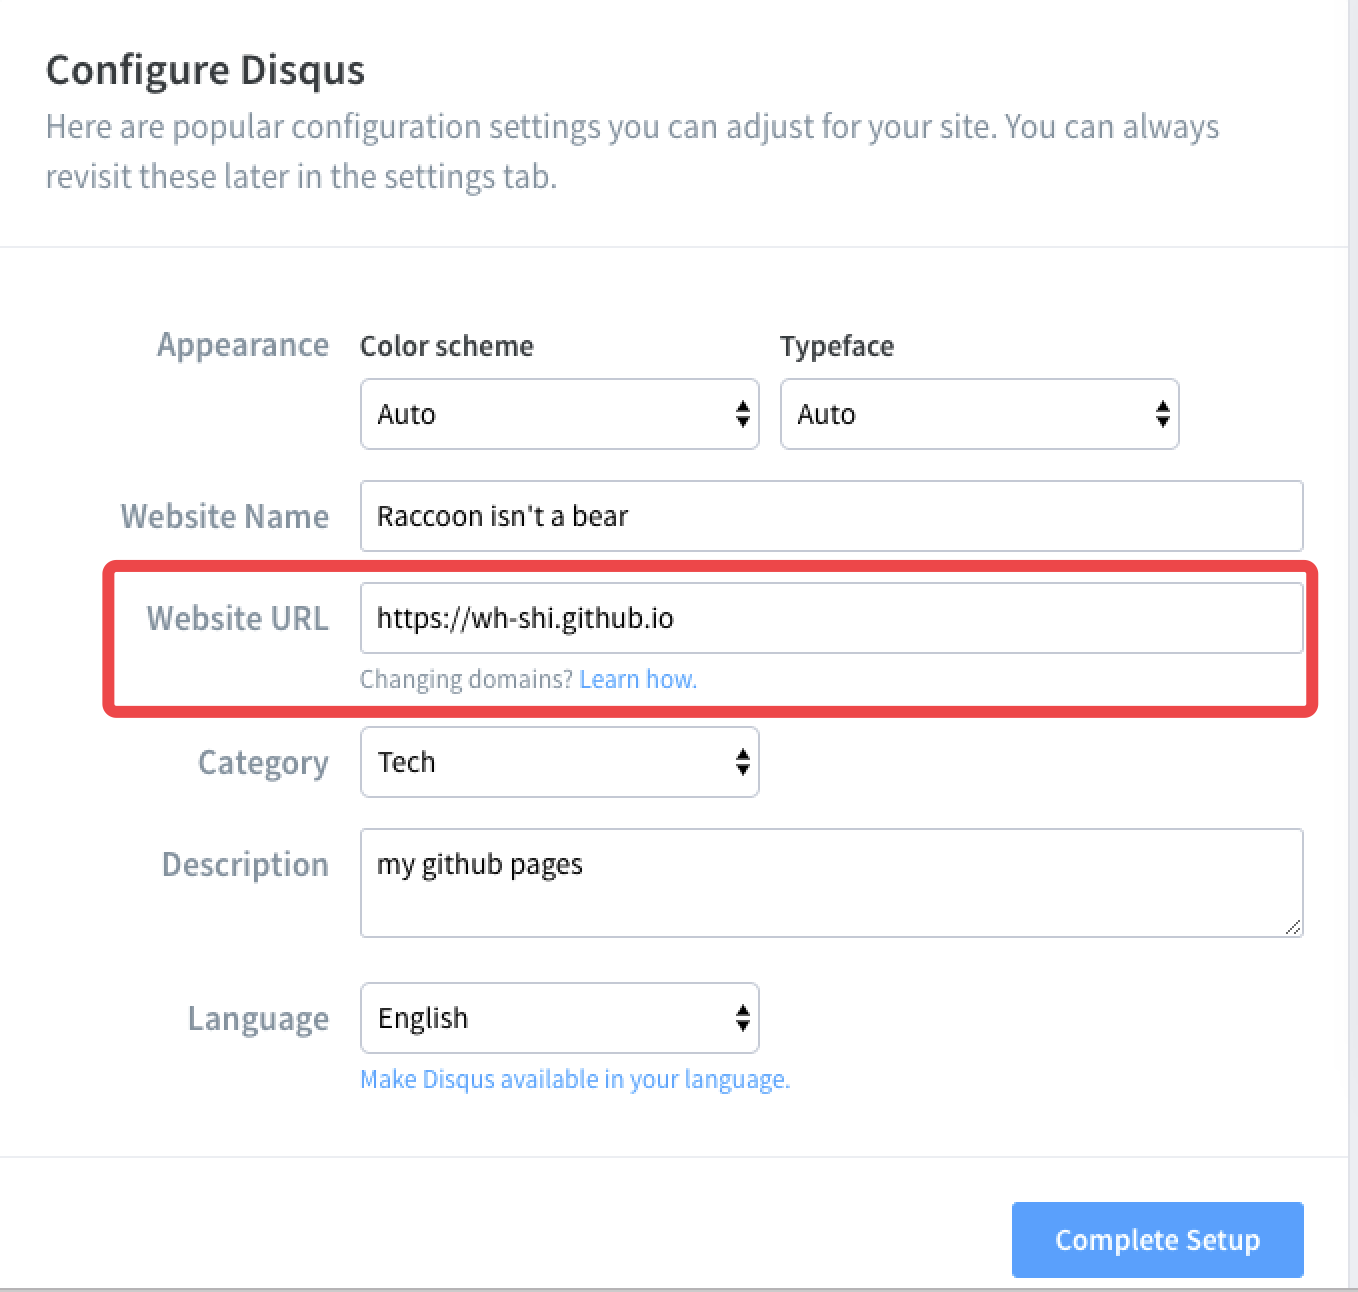
  8. Configure Disqus

    example disqus configuration page

    注意Website URL不要写错

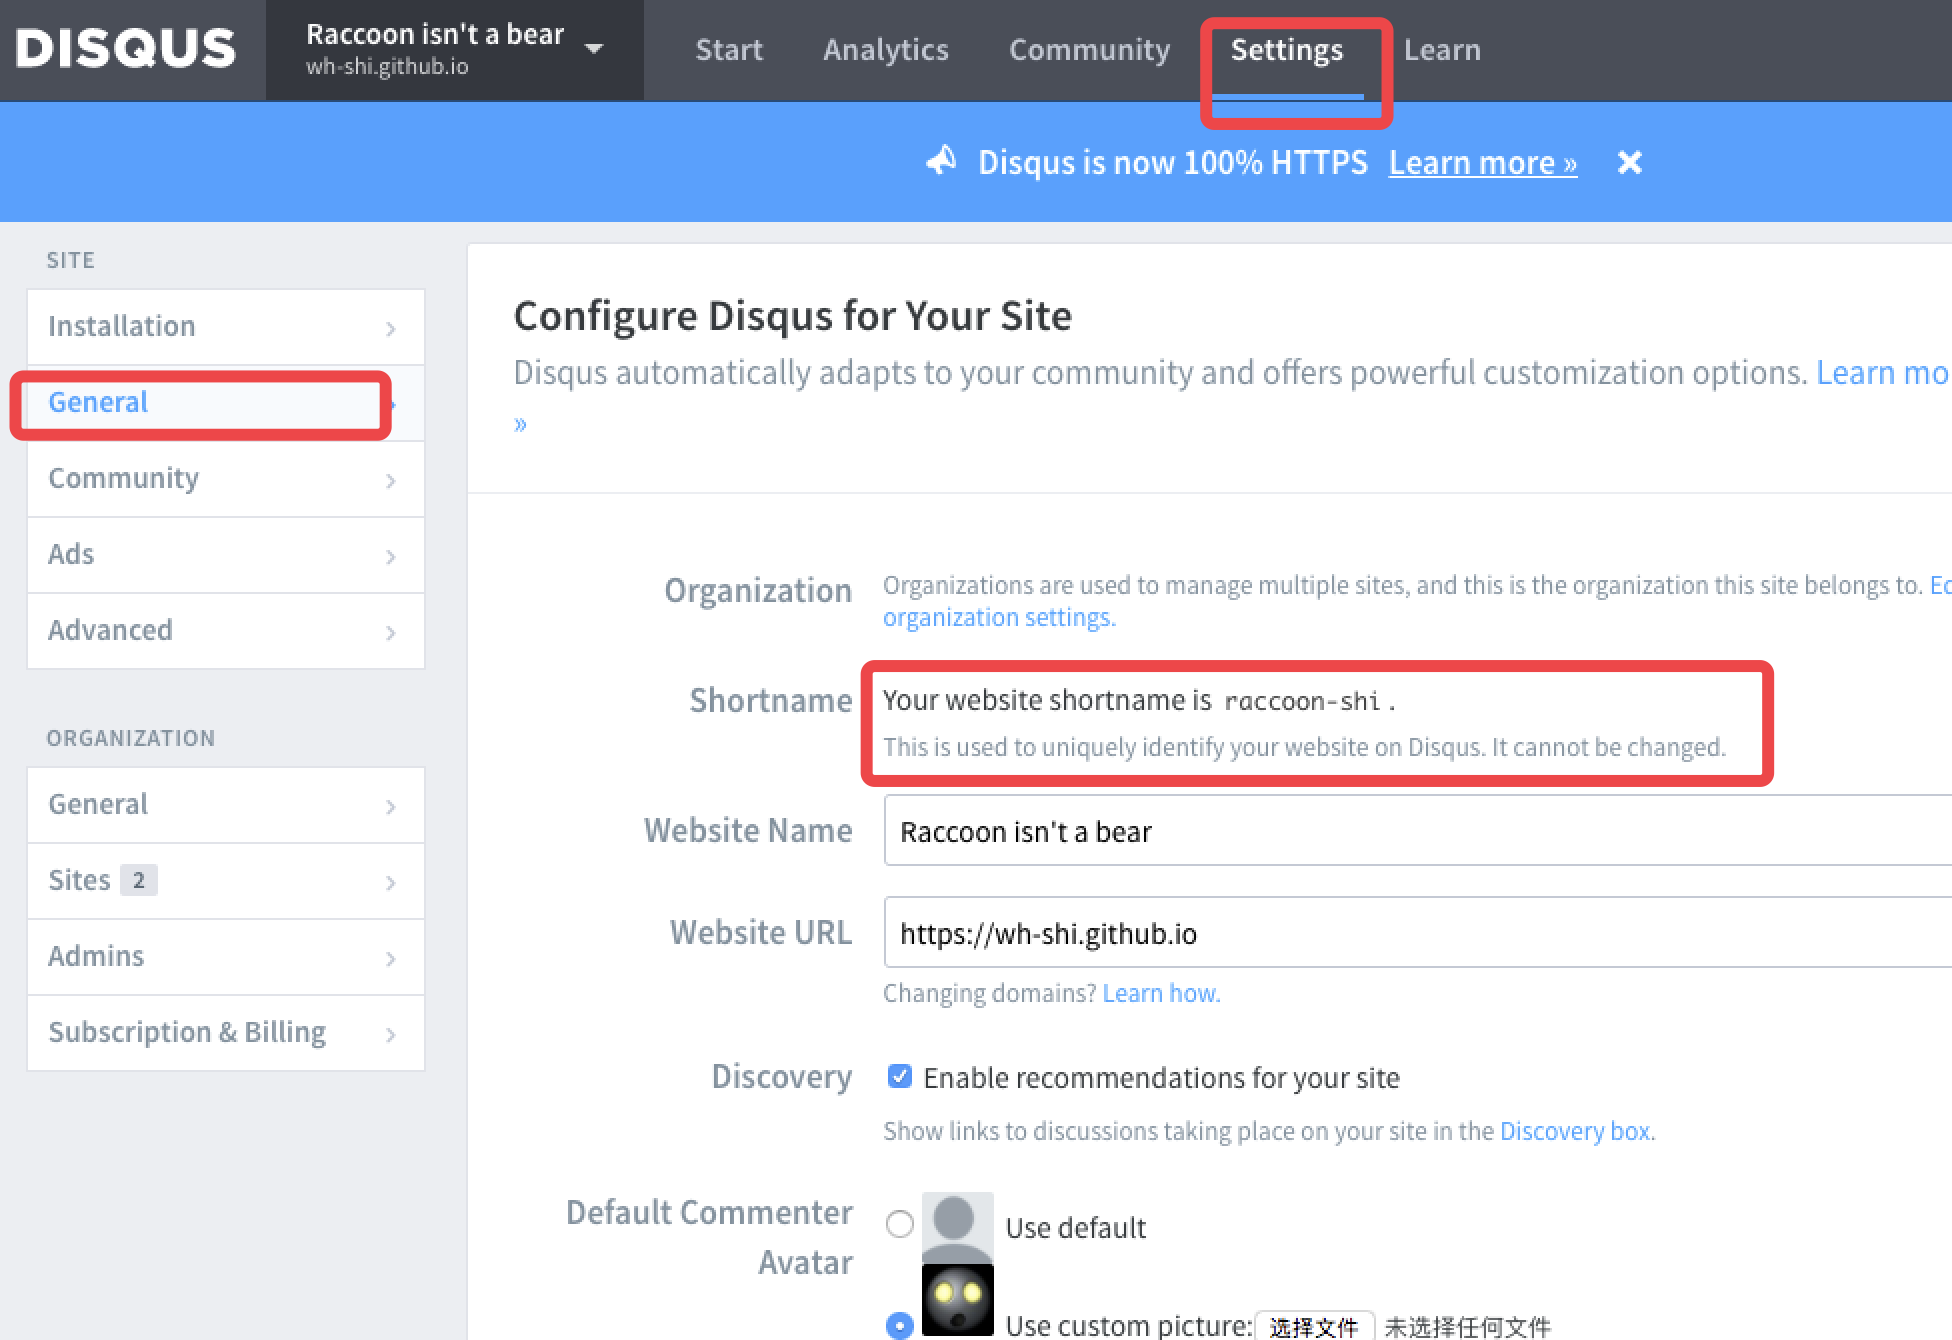
  9. Settings - General

    example disqus configuration page

    将系统为你生成的唯一Shortname在项目所使用的主题的_config.yml中设置

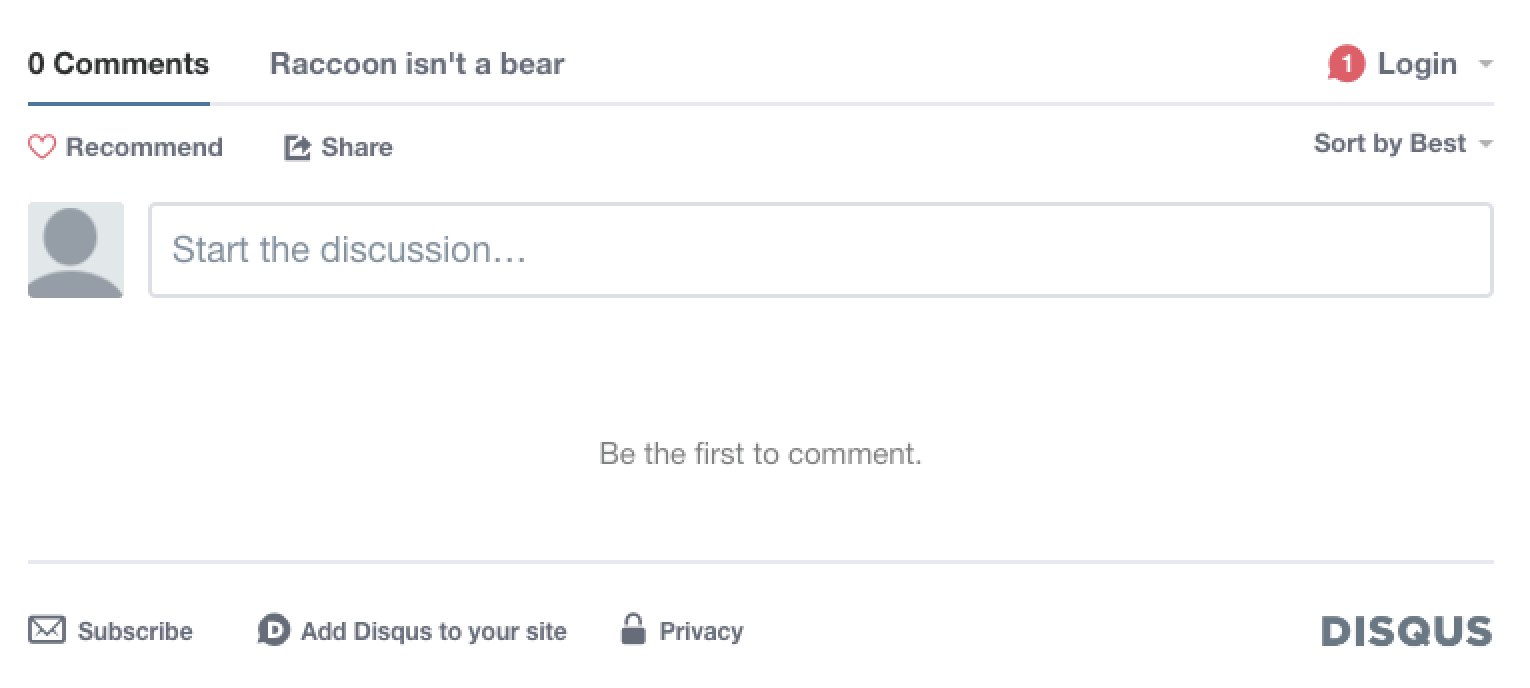
  10. 效果展示

    example disqus configuration page

2.5 Hexo详解

更多Hexo资料请参考Hexo官网文档

3 使用GitHub发布网站

步骤

  1. 注册GitHub账户

  2. 在GitHub上新建一个远程仓库,仓库名为wh-shi.github.iowh-shi必须为你GitHub的用户名

  3. 在本地网站代码所在的目录example下,执行git flow init,不懂git-flow的自行Google

  4. 关联远程仓库wh-shi.github.io

    1
    2
    3
    4
    ## 若未设置,请先设置
    # git config --global user.name "******"
    # git config --global user.email "******"
    git remote add origin git@github.com:wh-shi/wh-shi.github.io.git
  5. 修改_config.yml文件

    1
    2
    3
    4
    5
    6
    # Deployment
    ## Docs: https://hexo.io/docs/deployment.html
    deploy:
    type: git ## 通过git提交
    repo: git@github.com:wh-shi/wh-shi.github.io.git ## 远程仓库地址
    branch: master ## 项目中生成可访问的静态资源(对应的是public目录下的内容)推送至master分支
  6. 执行hexo deploy即可将代码public中的内容推送到远程仓库master分支中(若推送失败请先设置ssh-key)

  7. 访问https://wh-shi.github.io

  8. 执行一下命令即可将代码改动提交到远程仓库的develop分支中

    1
    2
    3
    git add .
    git commit -m "*****"
    git push origin develop
  9. 更多配置请见wh-shi.github.io